Introduction: Why I Love Simple Mehndi Designs for Kids
When I think back to family gatherings and festivals, one thing that always made the little ones excited was mehndi. Those giggles, little hands stretched out, and the sparkle in their eyes — it’s priceless. Over time, I realized that simple mehndi designs for kids are not just about looking pretty. It’s about connecting them to culture, creativity, and traditions in the sweetest way.
Today, I want to share everything I’ve learned about choosing and creating easy mehndi patterns for kids. Whether you’re a parent, an aunt, a teacher, or just someone who loves mehndi like me — I hope this guide helps you create beautiful memories.
What is Simple Mehndi Designs for Kids?
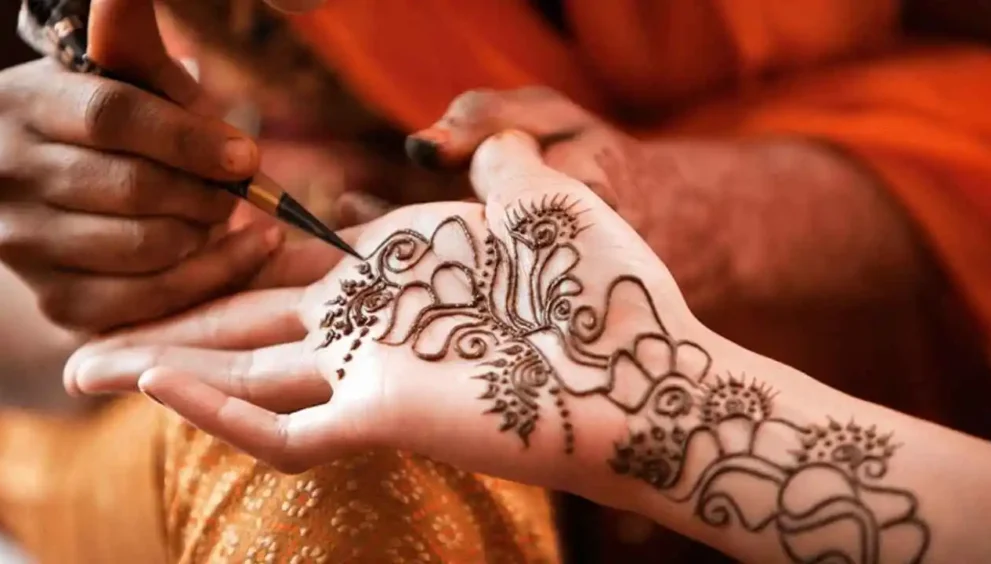
Simple mehndi designs for kids are quick and easy henna designs designed specifically for tiny hands and feet. Children’smehndi is lighthearted, playful, and frequently influenced by cartoon shapes, flowers, hearts, butterflies, and stars, in contrast to intricate adult designs.
Because kids can get restless quickly, these designs are kept minimal — usually taking just 5-10 minutes to apply. The idea is to make it a fun experience without overwhelming them with too many details.

Why Simple Mehndi Designs for Kids Matter
Here’s the thing — kids today are growing up in a very fast, digital world. Traditions like mehndi give them a chance to slow down, be creative, and connect with their roots.
Plus, it’s a wonderful way for children to express themselves artistically. Whether it’s a small flower on the back of their hand or a chain of tiny hearts across their fingers, each design feels like a personal piece of art they get to show off proudly.
And let’s not forget — it’s a safer, non-permanent way to introduce kids to body art compared to things like tattoos or heavy makeup.
Principal Advantages of Easy Mehndi Designs for Children
1. Boosts Creativity:
When kids see different designs, it sparks their imagination. Some even start creating their own mehndi patterns!
2. Strengthens Cultural Connection:
Especially during festivals like Eid, Diwali, or family weddings, applying mehndi can make kids feel more involved and proud of their traditions.
3. Safe and Natural Beauty:
Using organic, natural henna ensures that kids get to enjoy beautiful designs without any side effects. Always choose chemical-free henna for children.
4. Makes Celebrations Extra Special:
Simple mehndi designs can turn an ordinary day into a memorable celebration. Even a birthday party becomes extra special with a little mehndi booth!
Common Misunderstandings or Mistakes
I’ve noticed a few common mistakes people make when applying mehndi on kids:
Using complex designs:
Kids can’t sit still for long. If you start a big, intricate pattern, chances are they’ll get tired and mess it up halfway through.
Using black or chemical henna:
This can be dangerous. Black henna often contains harmful chemicals that can cause allergies. For kids, always use natural henna.
Applying too thick:
If the henna is applied too thickly, it can smudge or crack easily, ruining the design. Thin, clean lines work best for kids.
Real-World Examples of Simple Mehndi Designs for Kids
Let me list some of my personal favorites that I’ve tried:
Tiny Flower on the Palm:
One big flower in the middle with small leaves around it — super quick and always a hit.
Heart Chain on Fingers:
Drawing small hearts linked together across the fingers. It’s playful and kids absolutely love it.
Smiley Faces:
A smiley face on each finger tip! Trust me, they can’t stop showing it off.
Butterfly Design:
A small butterfly on the back of the hand with a swirl or two. Perfect for springtime get-togethers and garden parties.
Sun and Moon:
Draw a tiny sun on one hand and a moon on the other. It’s easy and has a cute story to tell.
How to Begin Creating Easy Kids’ Mehndi Designs Getting started is easier than you think.
Here’s a step-by-step guide based on what I usually do:
Step 1: Choose Natural Henna
Look for organic, chemical-free henna cones. Some brands even sell special “kids’ henna.”
Step 2: Prep Their Hands
To get rid of oils, wash their hands with soap and water. No lotion or cream should be applied before mehndi.
Step 3: Keep it Short and Fun
Pick super simple designs. Set a little timer if needed, so kids know how long they have to stay still.
Step 4: Be Ready for Touch-ups
Kids will wiggle! Keep a tissue nearby and don’t stress if you need to fix a small smudge.
Step 5: Let it Dry Naturally
Let the henna dry on its own. Avoid hair dryers or heaters, as it can crack the design.
My Final Thoughts
To sum it up, simple mehndi designs for kids aren’t just about cute decorations — they’re about happiness, creativity, and keeping our traditions alive in the hearts of the next generation.
Every time I see a child proudly showing off their little mehndi patterns, it reminds me why these small traditions matter so much. So next time you have a family gathering, or even just a lazy Sunday afternoon, grab a henna cone and create some magic!
Trust me, these little moments will turn into the sweetest memories.
Frequently Asked Questions (FAQs)
Typically, simple mehndi designs for kids last about 4 to 7 days. It depends on how often they wash their hands and the quality of henna used.
Yes, children’s skin can safely receive natural and organic henna. Always avoid black henna or any products with chemicals.
The easiest ones are flowers, hearts, butterflies, stars, and smiley faces. They are quick to apply and kids love them!


